A Client Account (formerly known as Billing Account) serves as the specific assignment of a carrier connection to a Client. While the Baseline Account holds the core credentials, the (Billing) Account allows you to customize how that carrier behaves for a specific client.
 |
In the techSHIP UI, this tab is labeled Accounts. This guide uses the term (Billing) Accounts to clearly distinguish them from Baseline Accounts.
|
This guide covers the procedure to assign a carrier to a Client by adding a new (Billing) Account and applying the essential configuration.
| |
Before proceeding, ensure you are operating the right location.
|

TABLE OF CONTENTS
Prerequisites
Before adding a (Billing) Account, ensure that:
The Client Profile has been created. See: How to create a Client profile [Step-by-Step guide].
A Baseline Account for the desired carrier has been created and configured. See: How to Add a Carrier Baseline Account [Step-by-Step guide].
Adding and Configuring a (Billing) Account
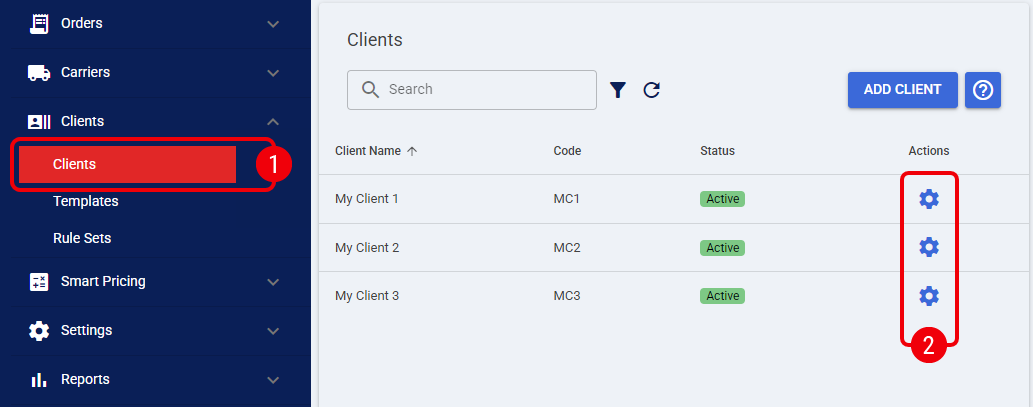
 | Click Clients from the left menu under the Clients section. |
 | Click the Edit icon for the desired Client. |
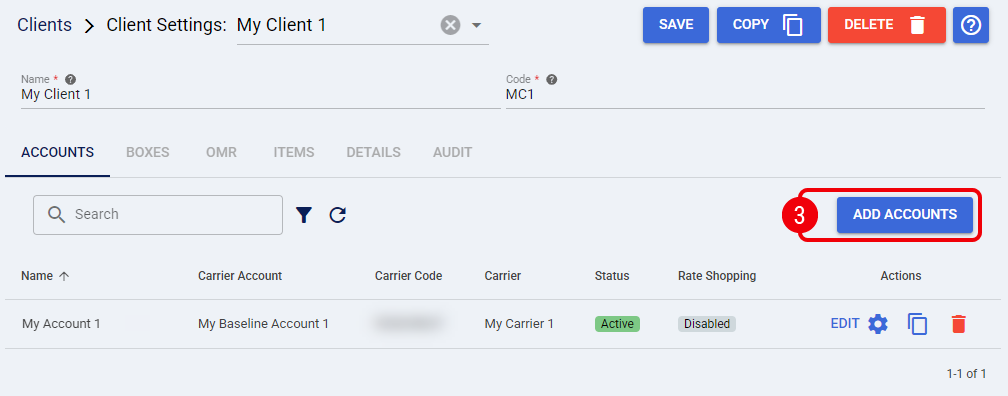
 | Press Add Accounts. |
 | Optionally, use the Search box to search by Baseline Account Name or Carrier. |
 | Select the Baseline Accounts that will serve as the foundation for your new (Billing) Accounts. |
 | Press Add Accounts. |

 | Click OK to close the confirmation message. |

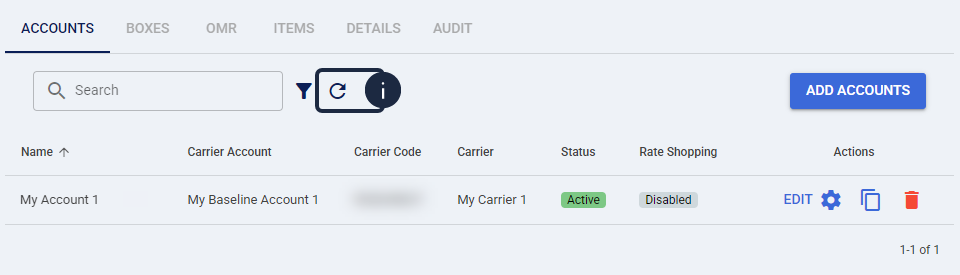
Click the Refresh icon if recently added accounts are not displayed.
Follow the steps in the sections below for each (Billing) Account to finalize the configuration.
Essential Configuration
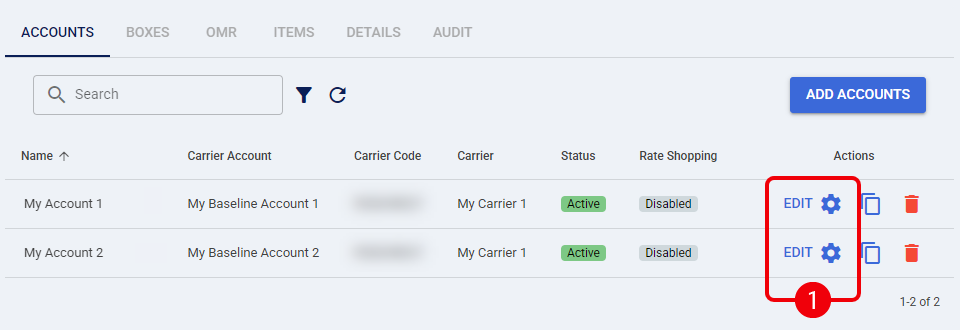
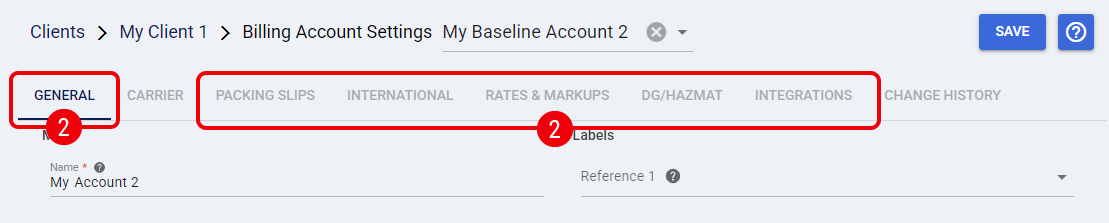
| Click Edit on each newly created account. |
| Configure the available options in each tab (except Carrier), as described in How to configure the Billing Account General Options tab [Step-by-Step guide]. |
Carrier-Specific Configuration
After completing the essential configuration, return to the Carrier tab to finish setting up the account. Carrier requirements vary: some parameters are optional, while others are mandatory.

To continue, follow the steps below:
- Open the techSHIP supported Carriers - Master List [Guides List].
- Locate your carrier and open its (Billing) Account configuration guide.
- Follow the carrier-specific instructions provided in the guide.
Specifying Rate Shopping Service Codes
Optionally, If you are using Rate Shopping, you may need to restrict which services are included in the comparison.
| |
This step is only applicable if the carrier supports Rate Shopping. To verify this, refer to techSHIP supported Carriers - Master List [Guides List].
|
For detailed instructions on how to configure this, see: Include or exclude Service Codes when Rate Shopping [Step-by-Step guide].
Finalizing the Setup
Once all configurations are complete, press Save.

 | Before processing shipments, review the carrier's Onboarding Requirements and Configuration Guide (as listed in the techSHIP supported Carriers - Master List [Guides List]) to understand carrier-specific options available at the order level and ensure your order data complies with the carrier's operational constraints. |
With the account configured and requirements verified, you can now proceed to process orders. See: Importing orders and processing them - [Step-by-step guide].
Was this article helpful?
That’s Great!
Thank you for your feedback
Sorry! We couldn't be helpful
Thank you for your feedback
Feedback sent
We appreciate your effort and will try to fix the article